Wednesday, September 14, 2016

Baby Girl Scrapbook Page Layout - Our Little Lady

Every have one of those pages you are just super proud of? Those layouts where everything seems to work from the paper to the photo to the embellishments?  Those pages that make you feel like a scrapbooking rock star? Well, for me, this is one of those pages.

This is one of the view layouts of my sweet little Aubrey (I'll catch up someday).  She was around nine months at the time.

The 12x12 kit I used was "Sweet Baby Girl" by Me & My Big Ideas. I love their kits because they include lots of high quality pieces to mix and match.  It's on sale at Walmart here.

Happy Scrapbooking and see you soon!

Our Little Lady Scrapbook Layout

Wednesday, September 7, 2016

Party Planning Series 02 - Party Like an Angry Bird

Do you remember when Angry Birds were cool?  If you ask my seven year old, he still thinks they are!  He loved them... was obsessed with them.... couldn't get enough of them.

It even became the theme for his fourth birthday party.  We had a great time planning and he had a great time partying.  Here are some highlights from his Angry Bird party:

The invitations for this party were fun to make.  I used the Cricut and an Angry Bird SVG file to cut the red bird.  The cloud and wood piece were also cut with the Cricut.  I used a woodgrain embossing folder on the wood and a swirl on the cloud. (*tip - When dry embossing, you can usually run three pieces of paper through the Big Shot at a time)  I used a real rubberband for the slingshot.  Inside the invitation I put all the party details.


The thank-you cards were kept pretty simply.  I printed the green pig on white cardstock.  I used the Cricut to cut the golden egg and added a heart stamp which I colored in red.  A black Sharpie was used to freehand the accents.


LOVE the inside of the thank-you card!


For my kids birthday parties, I tend to use a lot of their toys as decorations.  Here I took one of Lucas' large plush Angry Birds and put in a basket (nest) with some filler.  Super cute and free!


My sister, Emily, made an awesome King Pig cake complete with crown.  I wish I had a before picture!


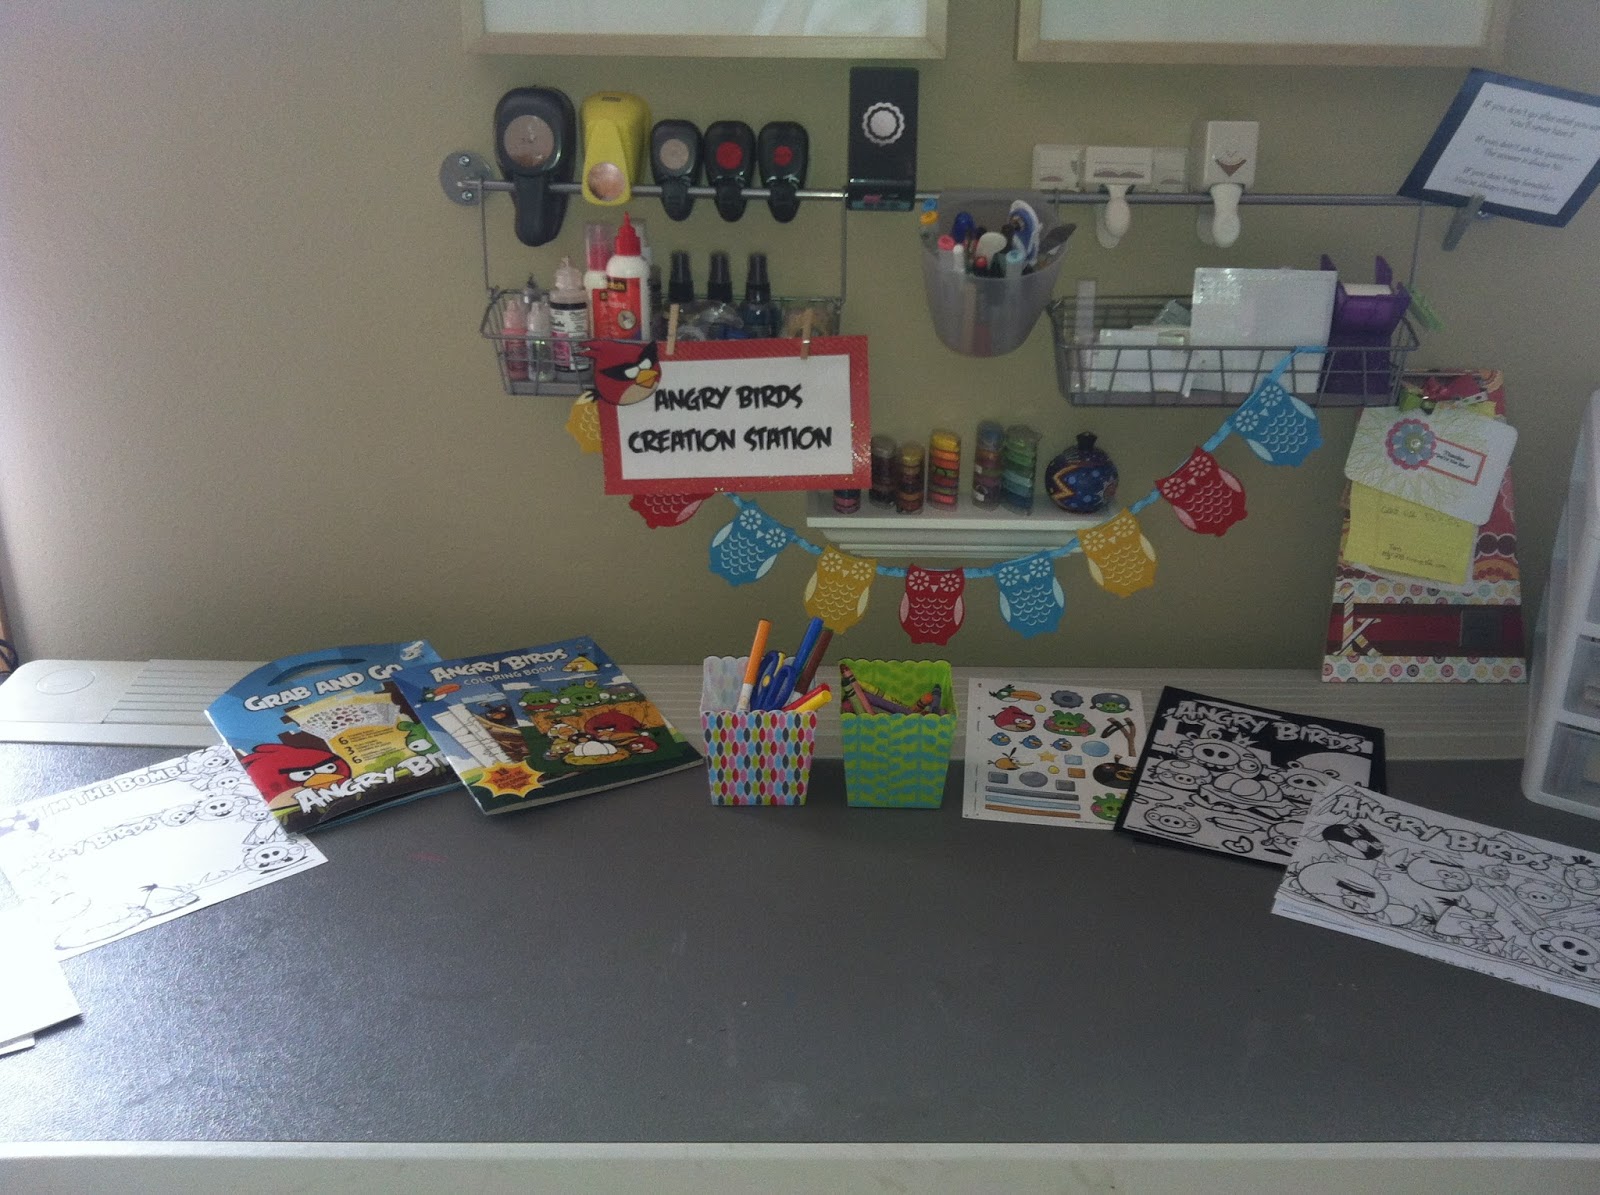
 I made an "Angry Bird Creation Station" complete with coloring books, stickers, tattoos and other fun craft supplies.


And of course no birthday would be complete without an Angry Bird bike!


Thursday, September 1, 2016

Party Planning Series 01 - A Scooby Doo Birthday Party

I thought I would start the Party Planning Party series off easy with my son Lucas' Scooby Doo themed third birthday party.  Typically I go all out for these kinds of parties, but for this one I kept it simple.

Scooby Doo has always been a favorite of his.  The classic cartoon episodes, the characters, the Halloween costumes... we've done it all.  This party has three main elements to share: the balloons, the cake and the invitation.


The Balloons

Balloons are easy but expensive.  I try to use them when I don't a lot of time to prepare my own decor.  I also used a pre-bought banner for this party too (eek! I never do that!).  I typically go to Party City for the balloon bouquets when I have a specific theme.  The Dollar Tree has great options when going a little more generic.


The Cake

I absolutely loved this cake.  My sweet sister, Emily, makes Lucas' birthday cake every year.  I love to see what she comes up with.  For this Scooby Doo cake, she used a vintage Wilton cake pan from my grandmother's collection. You can easily find an affordable one on eBay.  The cake turned out great.


The Invitation

By far, my favorite part of planning any birthday party is the invitation.  Here is the recipe to make this awesome Scooby Doo invitation:
  • Customize this template in Microsoft Word or similar program with the details for your specific event and print.  You will need to also have installed the Scooby Doo font and Mongolian Baiti font.
  • Cut a coordinating pattern sheet of cardstock to 6" x 4 3/4"
  • Use a Cricut or similar cutting machine to cut a sold-colored layering scalloped square to 5 3/4" x 4 1/4"
  • Cut your invitation to 5 1/4" x 3 3/4"
  • Corner round the pattern piece and invitation
  • Use double-sided tape to adhere all pieces together (or glue)


Thanks for checking out my first Party Planning series post. 
 Look for more party inspiration coming soon!